
The Animation Process
To a lot of people, the creation of an animated explainer video seems like magic. And while there are a lot of steps that seem complicated, it can be broken down into a simple, repeatable process. Five Five Collective is an explainer animation studio and this is how our typical animated explainer videos are made!
The Backbone
It all starts with a script. We work with our clients to come up with a list of key points they want the video to include. Maybe they’re a B2B SaaS company and they want a video to explain how their software platform works to drive sales. Or maybe they’re a health network and want to explain simple steps to avoid skin cancer and provide useful content for their patients. Either way, animated explainer videos are great tools to explain complicated or abstract concepts in a short amount of time, so we start by developing a written script that the rest of the video will be built on top of.
Sound and Color
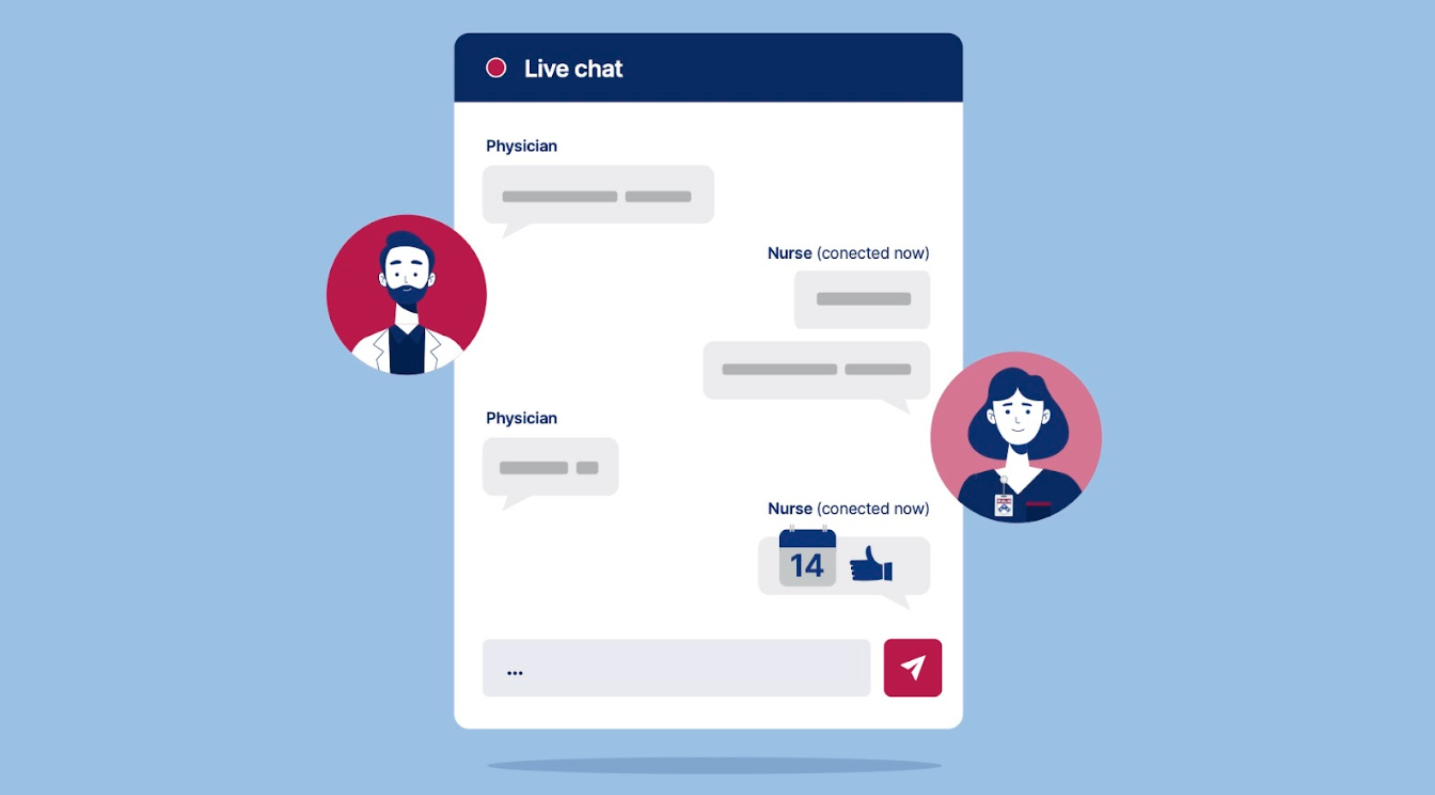
Style frame showing various elements like characters, UI, text, colors
Simultaneously, we develop style frames and mood boards to hone in on the look and feel of the explainer video, before we start animating. These frames may include what color palette we’ll use, how characters and environments will look, and how we’ll show data, UI elements, and text. Making these choices early on is key, and can save a lot of time once the animation process starts. Sometimes our clients already have well established brand guidelines that we have to work within, but we often partner with clients who have a looser style and need more help bringing color and design choices into focus.
At this stage, we also consider the voice of the animated explainer video. We have a vast network of professional voiceover artists local to Philadelphia and around the world, so as we’re developing the script and style frames, we collect voiceover auditions to send to our client for selection. Sometimes these auditions are a section of the script in progress, or other recordings from the voiceover artist’s portfolio.
Once the script has been approved, we invite our clients to a remote voiceover session, where they can listen in as our selected voiceover artist records the script. This is where the video comes to life! It’s a collaborative (and fun) process where the script—and sections of it—are read and reread, all while we and our clients give the voiceover artist direction and feedback.
A voiceover by itself can sound a little lonely, so before we move on to the next steps we like to select the background music track (or tracks) that will play under the voiceover. This is an important step in creating an animated explainer video because the tempo and composition of the music plays a big role in the overall pace of the animation. We like to get to a stage where the sound of the explainer video is fleshed out before getting too far ahead with the visuals.
Pencil to Paper

Pencil-sketched storyboard frame
While we’re working on the voiceover and music mix, we begin to translate the script to a pencil sketched storyboard. This storyboard allows us to develop the visual layout of each section of the video, without spending too much time on how every frame will look in the final animated explainer video. By keeping the storyboard rough, we can quickly make revisions until every frame is locked in and approved.
Next, after we all agree that the pencil sketches look good, we use the approved style frames to build out the storyboards with full color illustrations. The goal is to create a document that shows everyone involved what each section of the explainer video will actually look like. A read through the full color storyboards should feel a lot like watching the finished video, but without movement, and without voiceover. (So, maybe not exactly like the finished video.)

A storyboard page, including voiceover script and animation direction
Before moving straight onto animation, we use the approved, full color storyboard frames to create an “animatic” version of the explainer video. Think of an animatic as a slideshow that incorporates all the frames of the animation, the music, and the voiceover narration. The purpose is to make sure the pacing of the explainer video feels right, since it can be hard to judge pacing by reading through a static storyboard—everyone reads at different speeds! It’s not uncommon to discover that a section feels a little too slow, or too fast. Maybe there’s a section missing, or a part that seems unnecessary now. That’s all easy to change at this stage!
Putting it all together

A fully animated section of an explainer video
Finally, we move onto everyone’s favorite part of the animated explainer video process: animation! This is where we take all the elements developed in the storyboarding phase and make them move. Everything is synced up with the music and voiceover narration, scenes are animated to flow from one to the next, characters are brought to life, and flourishes are added to delight and surprise viewers. At this stage, everyone should know what to expect, but it never ceases to feel like a magic trick when the animated explainer video is brought together.
If you’re interested in an animated explainer video for your business, organization, or institution, reach out to us and let’s talk!